
InsForge now supports custom OAuth providers for OIDC-compatible identity systems.
This feature is aimed at teams that already understand OAuth and want a cleaner implementation path inside InsForge Auth. If Google, GitHub, Apple, and the standard social providers are not enough, you can now register your own provider and keep the rest of the authentication flow inside the same InsForge session model.
Thanks to community contributor @junaiddshaukat, who helped ship this feature.
The Problem With Custom Providers
Built-in OAuth providers are easy because the backend already knows their endpoints, scopes, and profile-mapping behavior. Custom identity providers are different.
Without first-class support, teams usually end up building some variation of this:
- A custom callback route
- A token exchange handler
- A userinfo fetch step
- A profile mapping layer
- Secret storage for client credentials
- Redirect validation and state handling
This backend glue is repetitive and easy to get wrong. For B2B products, internal tools, and enterprise environments, it often becomes the main blocker to shipping customer-specific auth.
Custom OAuth in InsForge removes that layer by making external OIDC providers a native part of the auth system.
What InsForge Actually Added
The feature introduces a separate configuration and runtime path for non-built-in providers.
At the configuration layer:
- Custom providers are stored in
auth.custom_oauth_configs - Client secrets are stored through InsForge's existing secret-management flow in
system.secrets - Each provider is identified by a unique lowercase
key
At the runtime layer:
- Custom flows live under
/api/auth/oauth/custom/:key - Callbacks are handled at
/api/auth/oauth/custom/:key/callback - Provider endpoints are resolved dynamically from the OIDC discovery document
Built-in providers keep their existing behavior, while custom providers go through a dedicated path designed for discovery-based configuration.
Architecture Overview
Each custom provider configuration includes five fields:
namekeydiscoveryEndpointclientIdclientSecret
The discoveryEndpoint should point to the provider's .well-known/openid-configuration document. InsForge fetches that document at runtime and expects it to provide:
authorization_endpointtoken_endpointuserinfo_endpoint
If any of those endpoints are missing, the provider is not considered valid for this flow.
On the user-profile side, the returned profile is expected to contain:
- A stable identifier from
sub,id, oruser_id - An
email
InsForge will also use optional profile fields such as name, preferred_username, picture, or avatar_url when available.

Request Flow
There are two layers involved: your app authenticates with InsForge, and InsForge authenticates with the upstream provider.
1. Your app starts OAuth through the SDK
Your application still calls the same SDK method:
await insforge.auth.signInWithOAuth({
  provider: 'okta-company',
  redirectTo: 'http://localhost:3000/dashboard',
});
Once configured, the provider key behaves like any other OAuth provider key.
2. InsForge initializes the custom provider flow
InsForge starts the flow through:
GET /api/auth/oauth/custom/:key
Before generating the authorization URL, InsForge:
- Validates the app
redirect_uriagainst the project's allowed redirect URLs - Signs a
statepayload containing the provider key, redirect URI, client PKCE challenge, and creation timestamp - Resolves the provider endpoints from the discovery document
- Generates an upstream PKCE verifier and challenge for the provider authorization request
3. The user authenticates with the upstream identity provider
The user is redirected to the provider's authorization_endpoint with the standard OAuth parameters:
client_idredirect_uriresponse_type=codescope=openid profile emailstatecode_challengecode_challenge_method=S256
4. InsForge handles the callback
After the provider redirects back to:
/api/auth/oauth/custom/:key/callback
InsForge verifies the signed state, re-validates the app redirect URI, looks up the PKCE verifier, exchanges the authorization code at the provider's token_endpoint, and then fetches the user profile from userinfo_endpoint.
From there, InsForge maps the external identity into the standard auth model:
- If the provider identity already exists, it signs the user in
- If not, it creates or links the user in
auth.usersandauth.user_providers
The final redirect back to your app includes an insforge_code, which the SDK exchanges for a session and stores automatically.
Security Properties
The implementation bakes in several safeguards that teams would otherwise need to implement themselves:
- Redirect allowlist validation happens before auth starts and again after callback
- Signed state protects the callback flow from tampering
- PKCE is enabled for custom-provider flows
- Secret storage is handled through the existing InsForge secret system instead of plaintext config
- Route isolation keeps built-in and custom provider logic separate
How To Configure It
1. Add the provider in Auth Methods
Open Auth Methods in the InsForge dashboard and choose Custom OAuth Provider.
Fill in:
- Provider Name
- Provider Key
- Discovery endpoint
- Client ID
- Client secret
The provider key must be lowercase and may contain letters, numbers, hyphens, and underscores. Built-in provider keys are reserved.
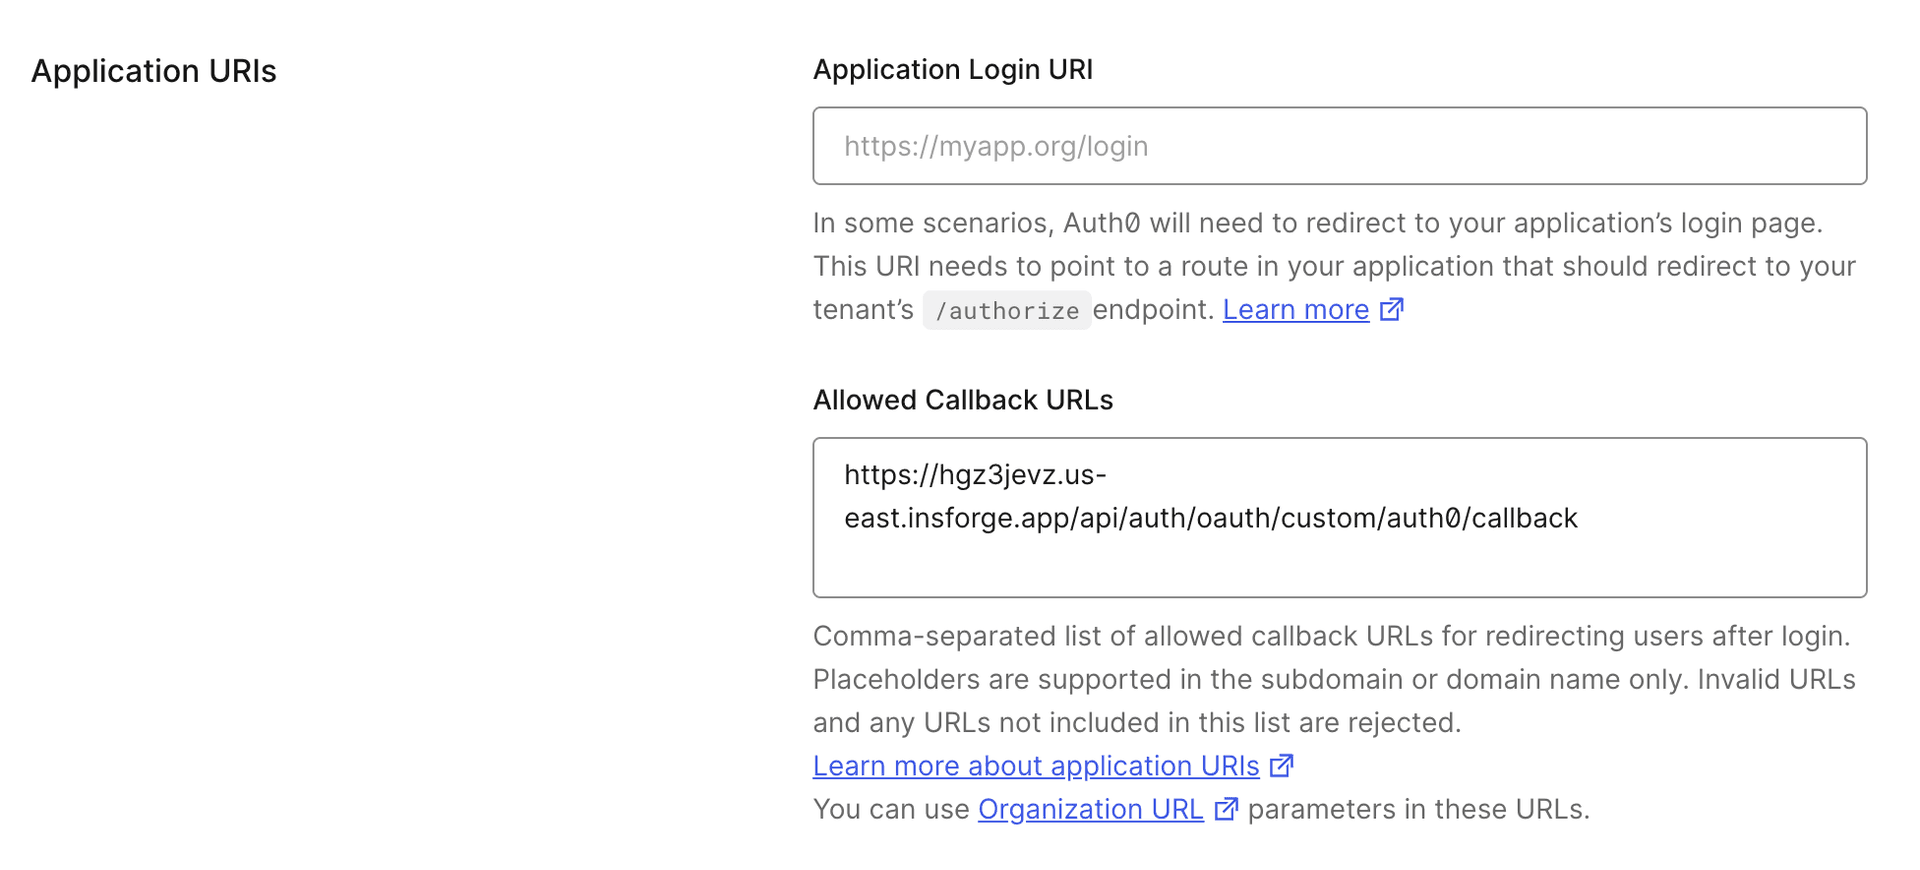
The dashboard will also generate the callback URL you need to register with the provider:
https://your-backend.insforge.app/api/auth/oauth/custom/okta-company/callback
2. Register the callback in your identity provider
Create or update the OAuth application in your identity provider and add the InsForge callback URL.
3. Add your frontend redirect URL to InsForge
Your application's redirect target should be listed in InsForge's allowed redirect URLs. For example:
http://localhost:3000/dashboard
or:
https://app.yourcompany.com/auth/callback
For developer experience, InsForge allows all redirect URLs when the allowed redirect URL list is empty. This makes local iteration easier, especially when you are still moving between ports, preview URLs, or temporary callback paths.
In production, you should explicitly configure your allowed redirect URLs. This is strongly recommended not just for post-sign-in redirects, but also for every authentication-related redirect your app uses, including:
- Sign-in callback URLs
- Email verification URLs
- Reset password URLs
When the list is configured, InsForge validates the redirect URL both during flow initialization and again during callback completion.
4. Trigger sign-in from the app
You can use the standard SDK entry point:
await insforge.auth.signInWithOAuth({
  provider: 'okta-company',
  redirectTo: 'https://app.yourcompany.com/auth/callback',
});
Or request the authorization URL without auto-redirecting:
const { data } = await insforge.auth.signInWithOAuth({
  provider: 'okta-company',
  redirectTo: 'https://app.yourcompany.com/auth/callback',
  skipBrowserRedirect: true,
});

window.location.href = data.url;

Dynamic Auth UIs
If you render authentication options dynamically, custom providers also show up in the public auth metadata.
The public endpoint:
GET /api/auth/public-config
returns both built-in providers and custom provider keys:
{
  "oAuthProviders": ["google", "github"],
  "customOAuthProviders": ["okta-company"]
}
That makes it possible to build a generic auth screen that adapts to each project configuration without hardcoding every provider in the frontend.
What Fits This Model Best
Custom OAuth in InsForge is optimized for providers that behave like OIDC providers and expose a valid discovery document. Good fits include systems such as Okta, Keycloak, Authentik, and similar identity platforms that provide standard authorization, token, and userinfo endpoints.
Strong fits:
- You need customer-specific login providers
- You are integrating enterprise identity into a multi-tenant app
- You want custom providers without maintaining custom auth routes
Weaker fits:
- The provider is not OIDC-compatible
- The provider does not return a usable identifier and email
- The auth system requires a nonstandard or heavily customized exchange flow
Why This Matters
InsForge now lets you plug an external OIDC provider into the existing auth system without forcing your team to maintain a parallel authentication backend. The provider is custom, but the application integration stays standard. The identities are external, but the session model remains unified. The configuration is dynamic, but the security controls are still opinionated and consistent.
Next Step
If you are already using InsForge Auth, configure a test OIDC provider in Auth Methods and run the flow through your existing sign-in screen.
For implementation details and SDK usage: